Basics of Securing a VPS
So, you’ve taken the plunge and bought yourself a VPS and want to secure it?
This little guide is primarily for me as it took me about 8 hours(!) first time to set up the VPS in such a way that I was happy to leave it, knowing it was “relatively” secure.
IF YOU CHOOSE TO USE ANY PARTS OF THIS GUIDE, I AM NOT RESPONSIBLE FOR YOU LOCKING YOURSELF OUT OR ANY DAMAGE TO YOUR VPS. YOU ARE USING THIS GUIDE AT YOUR OWN RISK! Please do not post questions – use stackoverflow if you have questions.
This guide assumes that you have not installed anything and are logging in for the first time. It also assumes you’re using Ubuntu, so please change the steps as appropriate if not.
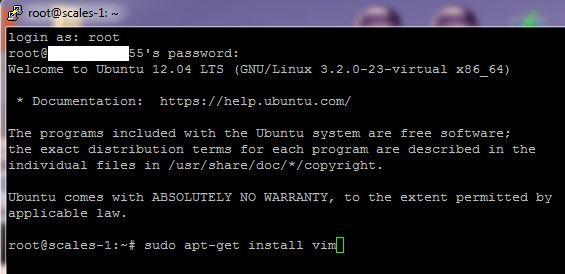
Start by logging in – probably as root (for now)
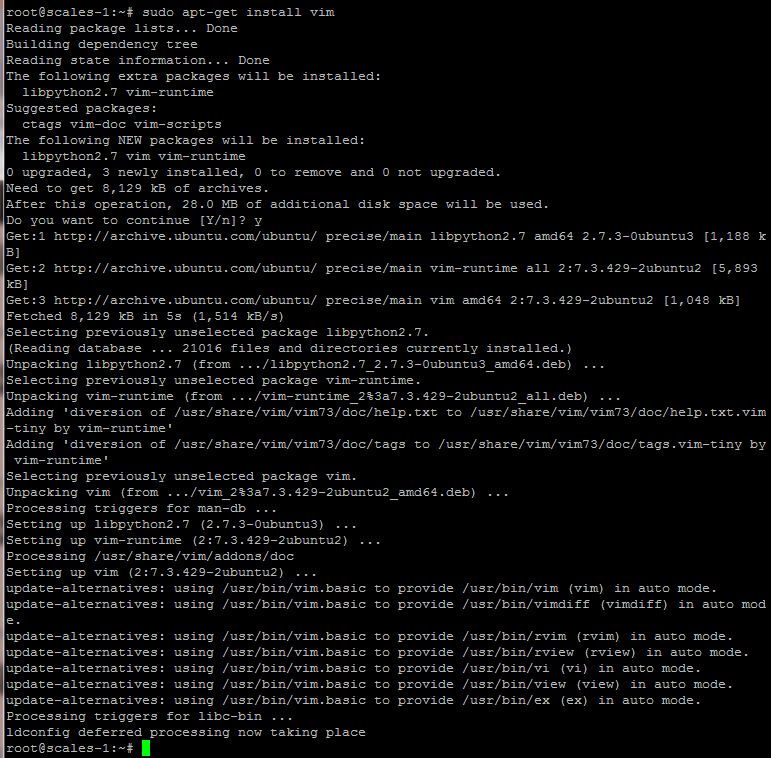
First things first – unless you’re a unix/linux admin, vi isn’t very friendly, so install vim. Now when you edit a file with vi, it will use vim instead of vi.
sudo apt-get install vim
Change the SSH port
Lets start by shifting the SSH port as at the moment, it’s very obvious.
Open the file in vim:
sudo vi /etc/ssh/sshd_config

Edit the port to a number higher than 10000, for example:
Save the file and re-start the ssh service
service ssh restart
KEEP your session open as it’s still connected to the VPS on the original port and if you’ve made a mistake, you’ll need the original session to undo the change.
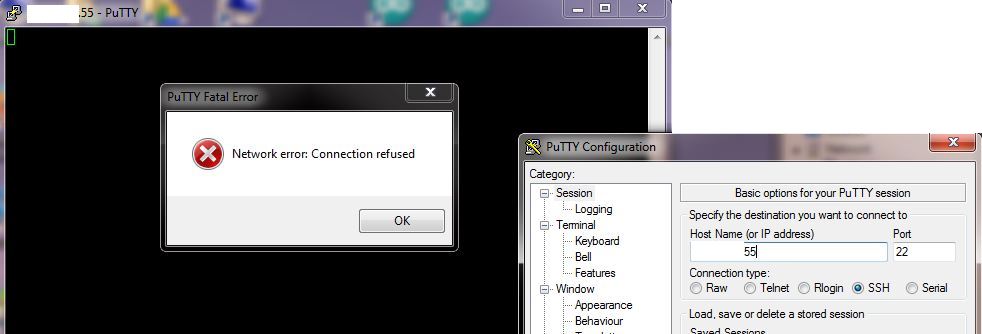
Check the new port setting is working by opening a new session and trying to connect on port 22 – you should get a connection error.
Now open another session and use the new port you’ve chosen – it should work first time.
Add a new user – using root is very insecure!
Add yourself a new user:
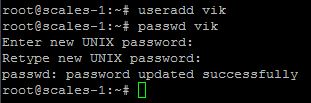
useradd [replace with username] – creates the new user (e.g. useradd vik)
passwd [replace with username] – sets the new user password (e.g. passwd vik). Prompts twice for the password for the user.
Add the user to the sudo’ers group
sudo usermod –a –G sudo vik

If you don’t add the new user to the sudo’ers group, when you login with the new user, they will be very limited to what they can do and we are creating this new user to disable root ssh access.
Login on a new window with your new username. The first thing you may notice is the warning about changing directory cannot be completed. This is actually a good test to make sure you have the correct privilages to use the sudo command.

Create a new directory /home/[username], e.g. mkdir /home/vik, you will receive a permission denied. Then try with sudo. You should be prompted for your username, e.g.

(Optional) Change your shell
I don’t like the default shell and since we will be using our new username more often, I’m going to change it to /bin/bash.
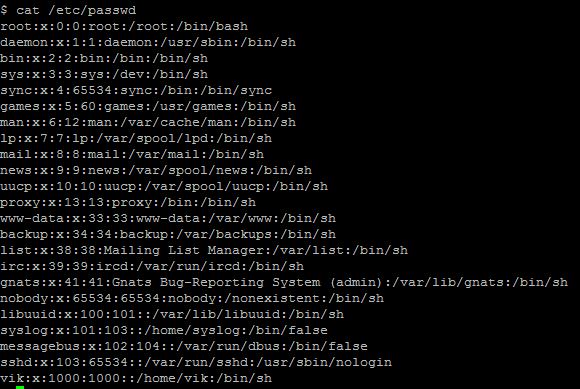
Check your existing shell (in case you need to go back to it:
cat /etc/passwd
Change to /bin/bash:
chsh
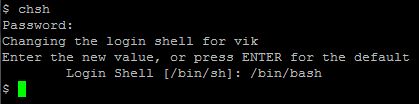
You’ll need to log off and back on to see the difference
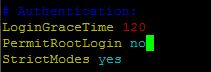
Disable root ssh
Now we have our new user, we need to prevent root from logging in via ssh.
sudo vi /etc/ssh/sshd_config
Save the file and re-start the ssh service
service ssh restart
Make sure you keep your session open, in case you need to sort any problems out
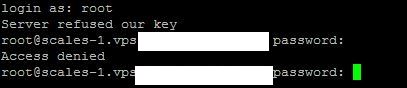
Open a new session and check that you can’t log in as root any more
Public/Private key authentication
So far you’ve been using a password for authentication which hopefully is over 15 characters long. Passwords are relatively easy to guess or brute force, so we are going to create a key which will be much stronger than the password (but will mean that if we lose the key, we’ll have trouble getting back in!).
This is the part of my VPS setup that took me hours… I created the key on the wrong box first! Your key is created on the client that will connect to the VPS. For this I’m going to swap to my server as PuTTY has a different method of key creation.
In your client home directory, create a .ssh folder
cd ~
mkdir .ssh
Change the permissions to 700
chmod 700 .ssh

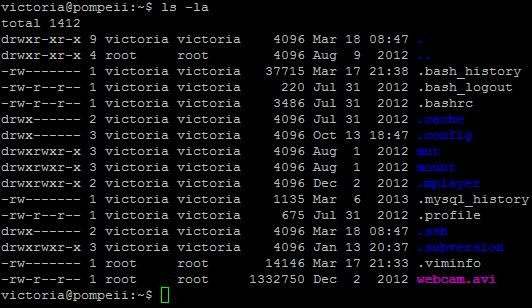
You should be able to see your new directory and permissions with:
ls –la
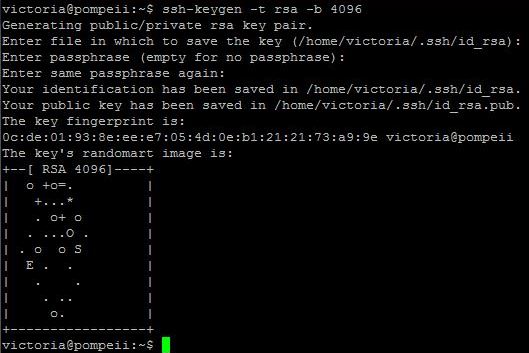
Now create the ssh keyfile. I’ve chosen a passphrase, but it is optional.
ssh-keygen -t rsa -b 4096
Agree with the default directory. If using a passphrase, enter it at both relevant prompts.
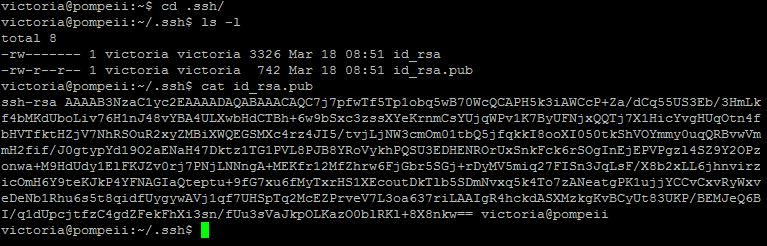
Your new key has been created, but now you need to get it to the remote server. There are ways to copy it across… but I’m going to do it the lazy way! Copy the content of the id_rsa.pub file (not the other one! The other one is your private key and should never be shared!)
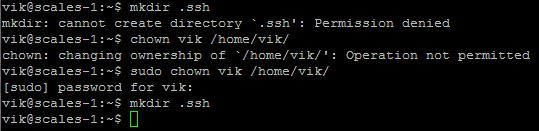
On the remote server (VPS) create a .ssh directory in the home directory of the user you will be logging in to. You might need to change the owner of your home directory if root owns it.
mkdir .ssh
Change the permissions to 700 on the .ssh directory
chmod 700 .ssh
Create a file named authorized_keys in the .ssh directory and paste the content of the key copied from your client in to the file. If there is already a file named authorized_keys in the directory, don’t overwrite the content, simply create a new line and paste the new key on the new line.
vi authorized_keys

Paste the key
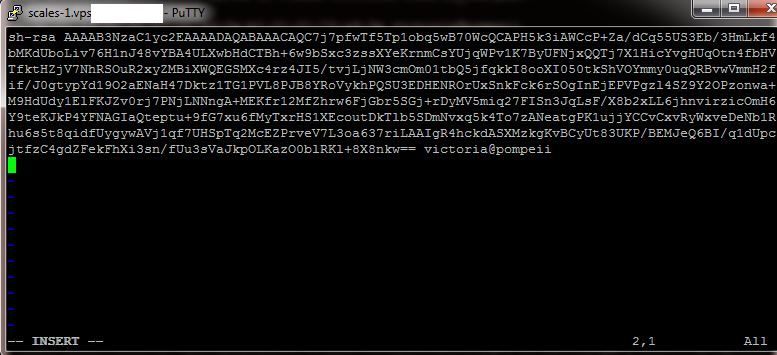
(if you look closely you’ll notice that the paste removed the “s” from the start!)
Save the file
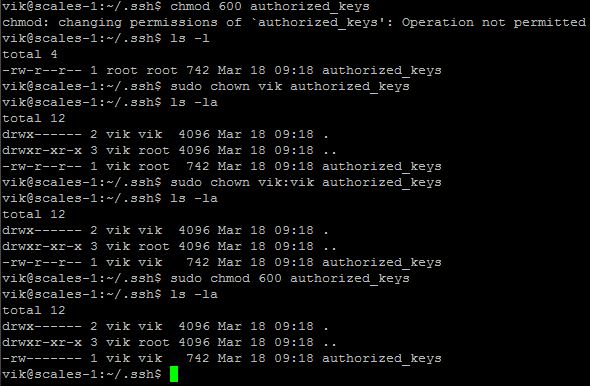
Change the permissions on the authorized_keys file to 600. (I created my file by habit as root, so had to change the owner to vik…)
Time to test out our new key!

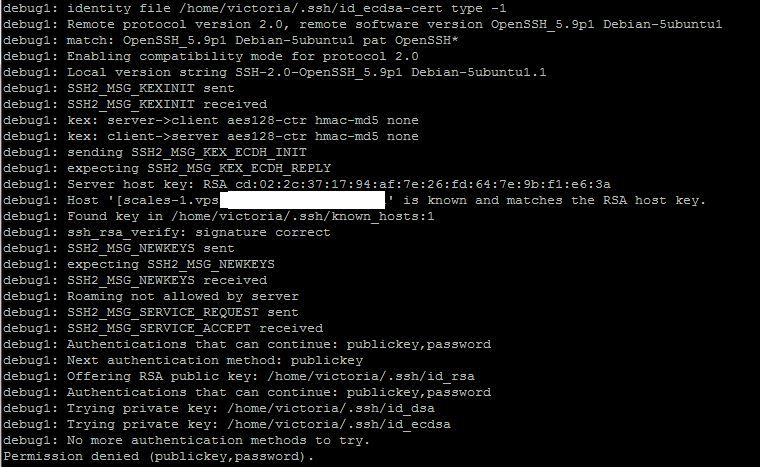
Ok… so there’s another problem… Use the minus v flag to get more information
ssh [replace with vps host] -p [replace with chosen port] -v
Double check all the permissions, including the home directory – see this page for good background in to the permissions for each directory and file: http://www.softpanorama.org/Net/Application_layer/SSH/passwordless_ssh_login.shtml
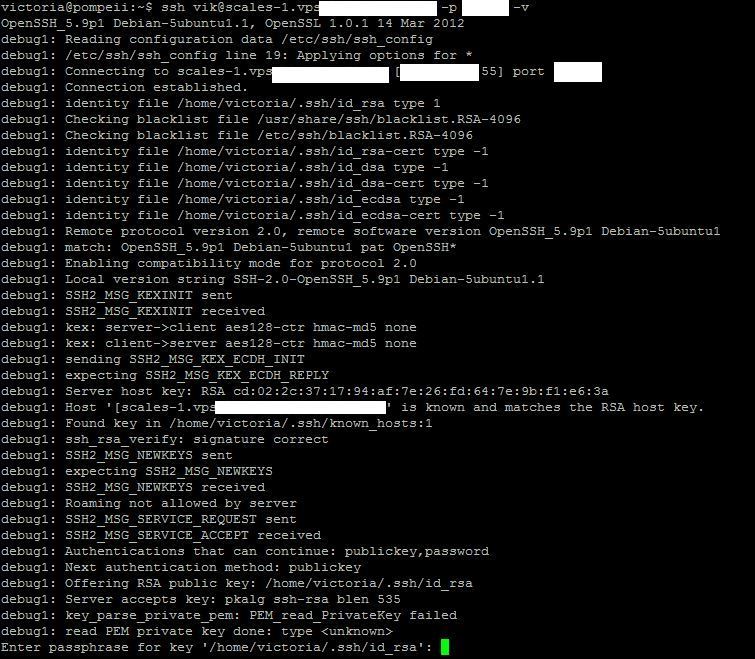
When I did eventually get it to connect, it asked me for the passphrase I’d set up and then logged me in.

You could now disable password authentication in the /etc/ssh/sshd_config file for extra security, but if you lose your key – you might need to rebuild the VPS from scratch to get back in. (how to disable ssh password authentication – http://stackoverflow.com/questions/20898384/ssh-disable-password-authentication)
Setting up a firewall
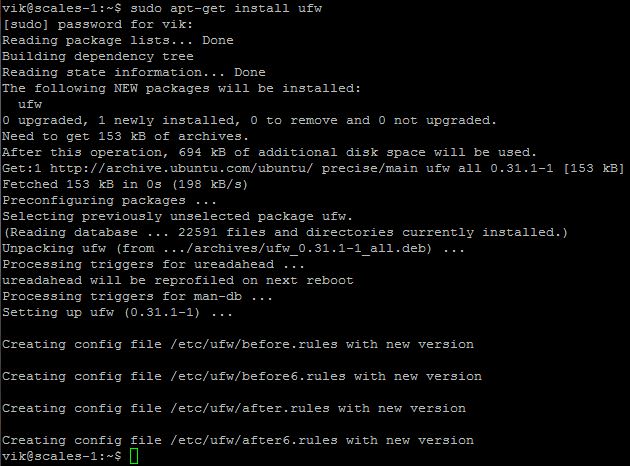
Last on my list was a firewall. I chose to use ufw as its quite easy to understand.
sudo apt-get install ufw
Don’t enable the firewall just yet! You can check the status by running:
sudo ufw status

How you choose to set up the rules is really up to you… I’m only allowing connections from my server to the VPS as well as global access to port 80, 443 and a few other common ports.
Only switch the firewall on once you’ve fully configured the ports you need and access for yourself to ssh at a minimum!
To enable the firewall:
sudo ufw enable

That’s it (for now)
This should be enough to get started – but may want to be extended in future


Please enable the Disqus feature in order to add comments